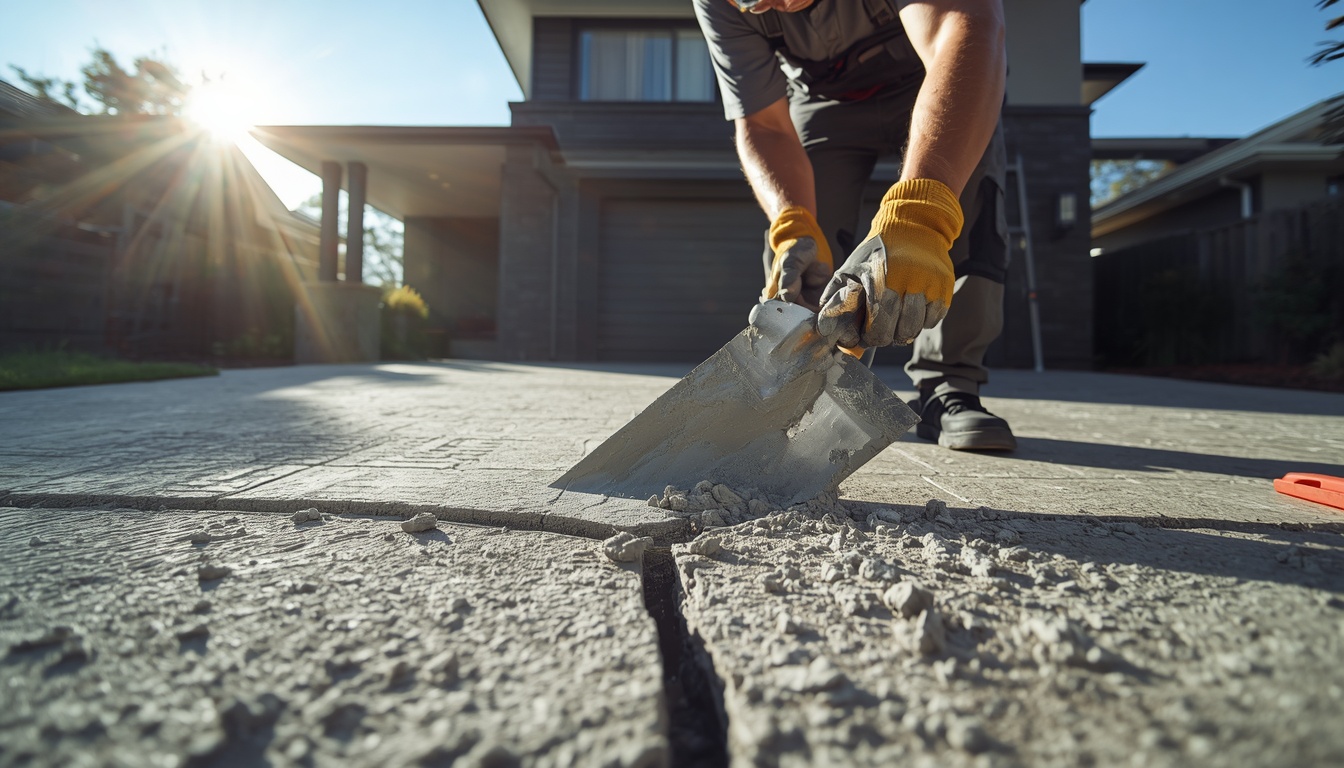
Start by working out what’s wrong: hairline cracks, wider cracks, flaking surface or sunken slab. Small cracks get filled, flaking areas get patched and resurfaced, and the whole job needs a clean, sound base and proper curing. Anything deep, widespread or sinking is a job for a specialist, not a weekend.
Key Takeaways
- Find the cause first, or the repair will fail again.
- Hairline cracks and shallow flaking are usually fine to fix yourself.
- Resurfacing only works on a structurally sound slab.
- Curing matters: keep new repairs damp for 24 to 48 hours.
- Sinking slabs, widespread spalling and rust staining need a professional inspection.
Concrete driveways rarely fail all at once. It starts with a fine crack near the garage, or a patch of surface that turns rough and starts shedding grit. A year later, there’s a pothole and a puddle that never drains. By then the fix is bigger, and so is the bill.
The good news is that most surface problems are repairable, and a lot of them early on are well within a careful DIYer’s reach. This guide walks through how to repair a concrete driveway surface properly, how to tell what you’re dealing with, and where concrete surface repair stops being a weekend job.
What Causes a Concrete Driveway Surface to Fail?
Before you pick up a trowel, work out why it happened. A repair that ignores the cause tends to reopen.
Most surface damage comes down to a short list. Poor curing when the slab was first poured is a big one, and so is pouring in hot, windy weather, which can crack or flake a fresh surface. Missing or badly placed joints let the slab crack wherever it likes. Water finds its way in, and over time it weakens the surface layer. Add heavy vehicles, tree roots, soil movement under the slab, and the odd harsh cleaning chemical, and you can see how things go wrong.
In Sydney, reactive clay soils and heavy rain make movement and moisture two of the usual suspects.
Identify the Damage First
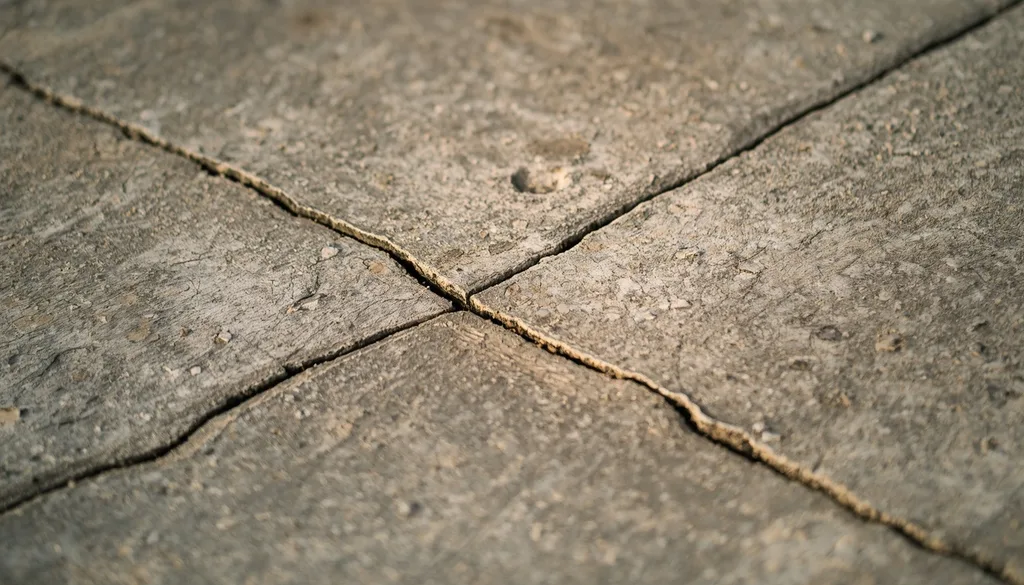
Different damage needs a different fix. Take a slow walk over the driveway and sort what you see.
Hairline cracks. Very fine, usually under about 3 mm wide. These are normally shrinkage cracks and aren’t a structural worry.
Wider cracks. Anything from about 6 mm up is more likely to involve soil movement under the slab. Look at whether one side sits higher than the other.
Spalling and scaling. The top layer flakes, peels or crumbles, leaving a rough, pitted surface with stones showing through.
Potholes and pop-outs. Small, deeper breaks where a chunk of surface has come away.
Sunken or tilted sections. The slab has moved. This one isn’t a surface repair.
Tap the damaged areas with the handle of a hammer. A hollow sound means the surface has lifted away from the slab underneath, and it’ll need to be cut back to solid concrete.
How to Repair a Concrete Driveway Surface: Step by Step
You’ll want dry weather, no rain forecast for a couple of days, and a day that isn’t scorching. Wear gloves and eye protection. Cement is harsh on skin.
Step 1: Clean and prepare
Sweep the area, then wash it down and scrub off oil, moss and loose material. Chip out any crumbling concrete until you hit solid surface. Preparation is the most important step, because new material only bonds to clean, sound concrete.
Step 2: Fix the cracks
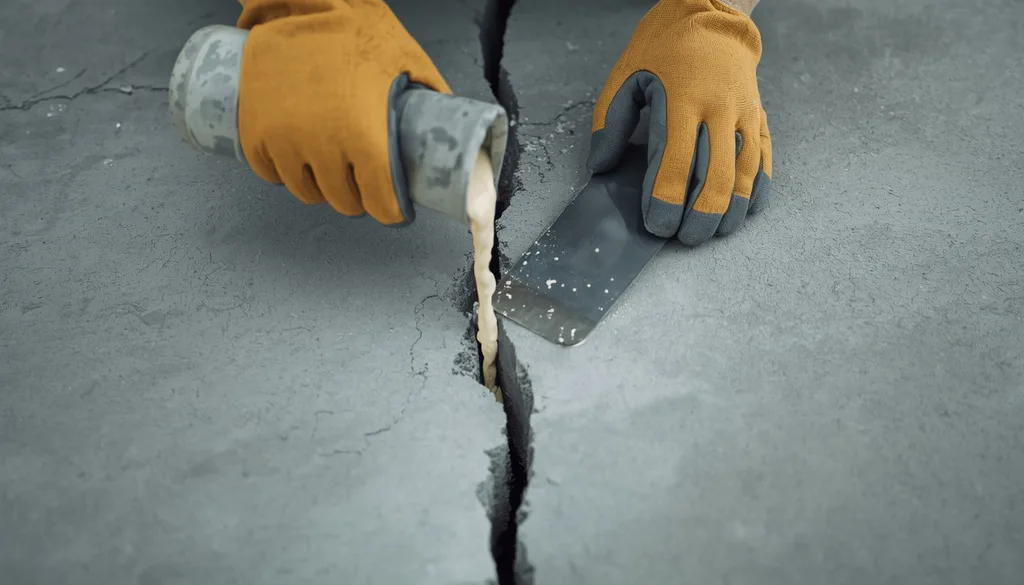
For hairline cracks, a pourable crack filler, textured sealant or concrete sealer is usually enough. Brush out the dust first.
For wider cracks, clean out the loose bits and cut the crack slightly wider at the base than at the top, so the filler doesn’t get squeezed out when the slab moves with the heat. Fill in layers with a polymer-modified repair mortar or a suitable crack filler, then trowel level.
Keep an eye on gaps. A crack that keeps widening, or one with a step between the two sides, is moving, and filling it is only a short-term patch.
Step 3: Patch the spalled areas
Dampen the area (but no puddles), then apply a bonding agent where the product calls for it. Press in a repair mortar that suits the depth, level it off with the surrounding surface, and texture it to match. Holes and cracks wider than roughly 25 mm should be filled with a proper repair material before any resurfacing goes over the top.
Step 4: Resurface if the whole surface is tired
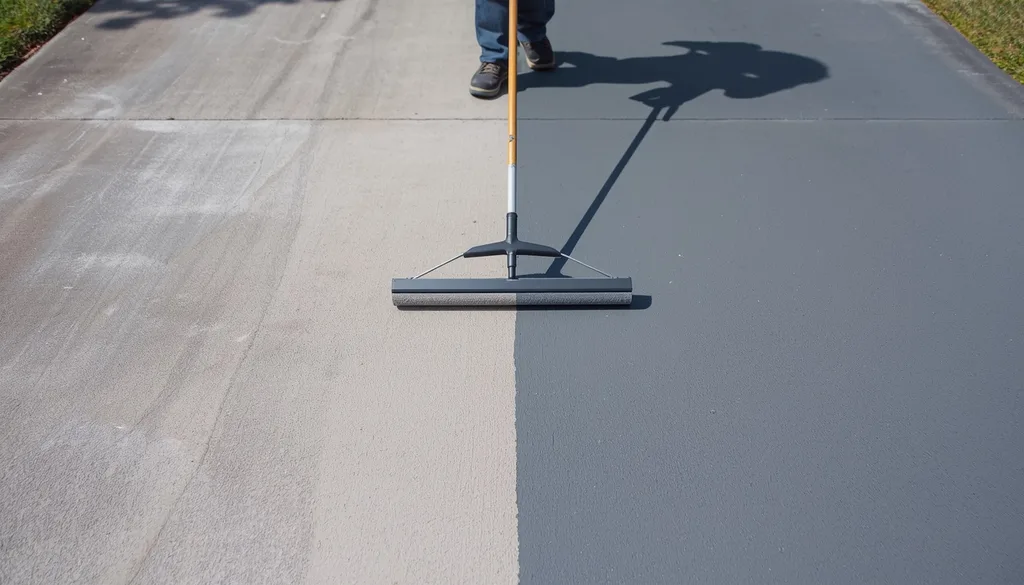
If the damage is spread across the driveway but the slab itself is sound, a concrete resurfacer can give the whole surface a fresh skin. It’s mixed to a pourable consistency, spread across the slab in strips with a long-handled squeegee, then given a light broom finish for grip. It only works on a structurally sound base, though. Never try it over a severely cracked or moving slab.
Step 5: Cure it properly
This is the step people skip, and it’s the one that quietly ruins the job. Mist the repair lightly for 24 to 48 hours to stop it drying too fast and cracking. Keep vehicles off for at least a day, or longer if the product says so.
Step 6: Seal it
Once everything has cured and dried, a quality sealer helps keep water, oil and stains out of the surface, which is where most trouble starts.
Repair, Resurface or Replace?
It’s not always obvious which way to go. As a rough guide, repair, resurfacing and replacement each suit a different level of damage.
| What you’re seeing | Usual answer |
| Hairline cracks, small chips | Repair |
| Flaking or worn surface, slab is sound | Resurface |
| A few wider cracks, otherwise stable | Repair, then reassess |
| Cracks joined up like a web | Replace |
| Sunken sections or standing water | Professional assessment, often replace |
| Damage over roughly a quarter of the slab or more | Get a quote for replacement too |
The cost of getting this wrong is real. Resurfacing over a moving slab just hides the crack for a few months. If a repair would need very thick layers of material, replacing the section is usually the better call.
When to Call a Professional
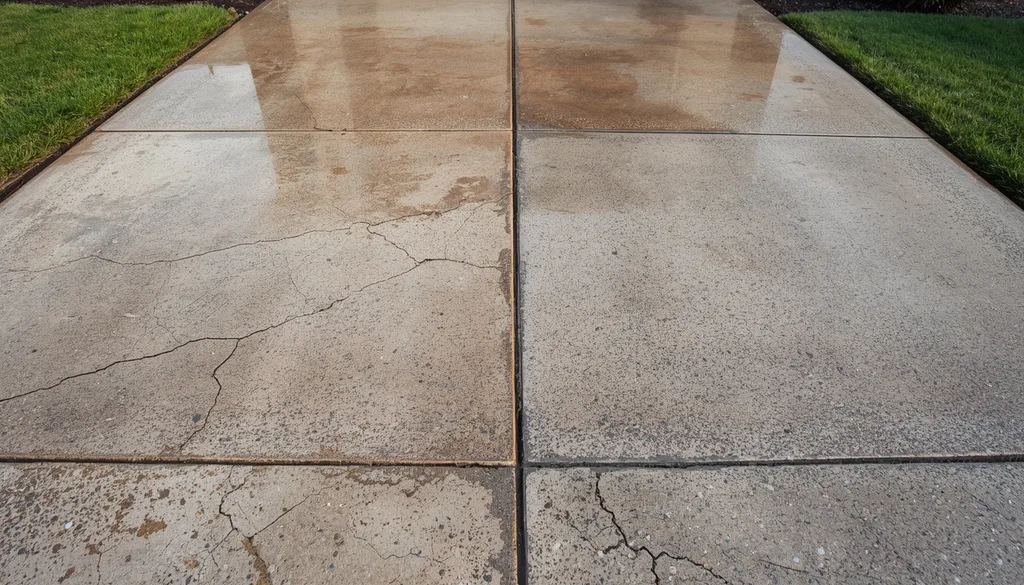
Some jobs aren’t a weekend project. Get an inspection if you see:
- Cracks wider than about 6 mm that keep growing
- One side of a crack higher than the other
- Sunken sections, or water that pools and won’t drain
- Large areas of spalling, or surface that keeps coming away after patching
- Rust stains, or exposed steel in the concrete
That last one matters most. Rusting steel inside the slab expands and pushes the concrete off from within, so patching the surface hides the problem rather than solving it.
This is where our concrete repairs team comes in. We handle structural crack repairs, spalling concrete restoration, protective coatings and surface strengthening across Sydney, for residential, commercial and industrial properties. Where cracks need more than a surface fill, our chemical injection work can seal them from the inside. If you’re not sure what you’re dealing with, you can book an inspection and we’ll tell you whether it’s a simple patch or something bigger. The cost of concrete surface repairs depends on the extent of the damage, the surface condition, and site accessibility.
How to Stop It Happening Again
A few habits make the next repair a long way off.
Fix cracks as soon as they appear, because water is the thing that turns a small problem into a big one. Seal the surface every few years. Keep the slab draining away from the house. Wash off oil and fuel spills quickly. Avoid harsh acids and strong chemicals. And if your driveway has been patched more than once in the same spot, get the cause looked at, not just the surface.
For a wider look at what happens when damage goes deeper than a driveway, our guide on remedial building services explains what’s involved.
Frequently Asked Questions
Can I repair a concrete driveway myself?
Yes, for hairline cracks, small chips and shallow flaking. Wide, growing cracks, sunken sections and rust stains are better left to a professional.
What’s the best material to repair a concrete driveway surface?
A polymer-modified repair mortar suits patches, a pourable filler suits fine cracks, and a concrete resurfacer suits worn surfaces. Match the product to the damage and follow its instructions.
How long does a concrete driveway repair last?
It depends on the cause. A repair on a stable slab can last years. One over a moving or wet slab may fail within months.
Can you resurface a cracked concrete driveway?
Only if the cracks are small and the slab is sound. Large cracks should be repaired first, and a moving slab shouldn’t be resurfaced at all.
How long should I stay off a repaired driveway?
Usually at least 24 hours before cars, longer for deep patches. Check the product label.
Is it cheaper to repair or replace a concrete driveway?
Repair is usually cheaper when damage is limited and the slab is stable. If damage covers a large area or the slab is sinking, replacement often costs less over time.
The Bottom Line
Repairing a concrete driveway surface comes down to three things: find the cause, prepare the surface properly, and cure the repair. Small jobs are well within reach. Big or spreading damage isn’t, and it’s cheaper to find that out early.
If you’re not sure which one you’ve got, call Ravelle Group on 0438 068 800 or book an inspection for expert concrete surface repair in Sydney.